In the competitive culinary landscape, your menu is your story, and its presentation can make all the difference. More than just pretty pictures, compelling food photography captures the essence of your dishes, enticing new customers and beckoning them back for more. It’s about harnessing the power of visual storytelling to evoke cravings and cultivate a loyal following.
But what do you need to capture images that will make your restaurant menu appealing?
Food Photography Essentials: Setting Up Your Shots for Success
They say we “eat with our eyes first,” and in the age of Instagram and food blogs, that’s never been truer, even if it’s for something like a restaurant menu. But capturing those mouthwatering images that make stomachs rumble and viewers drool requires more than just pointing and shooting. It’s about understanding the interplay of light, composition, and technical know-how.
To get started, you’ll need a DSLR or mirrorless camera with manual controls for the artistic freedom required for food photography, a versatile lens like a 50mm or macro lens and a tripod for stability.
But even the finest tools are nothing without the right environment.
When choosing a location for food photography, prioritise ample space, abundant natural light, and proximity to the kitchen. These factors ensure optimal shooting conditions and capture the freshest food.
Food Photography Tips for Styling: Plating That Wows
Plating is where the artistry of food presentation truly shines in menu photography. As such, it’s important to play with contrasting colours and textures that easily capture the eye. It’s also essential to guide the viewer’s gaze through the dish by layering elements to create depth and dimension.
Don’t forget about balance and proportion! Just like a well-composed painting, the food presentation should be appealing enough without overwhelming eyes. So, you must achieve a balanced composition by carefully considering the size of each dish component while placing it on the plate.
8 Food Photography Tips & Tricks to Help Your Menu Shine
Photography basic aside, when it’s time to take excellent restaurant menu pictures, there are some tips and tricks on how to take good food photos that sell.
1. Mastering Lighting in Food Photography
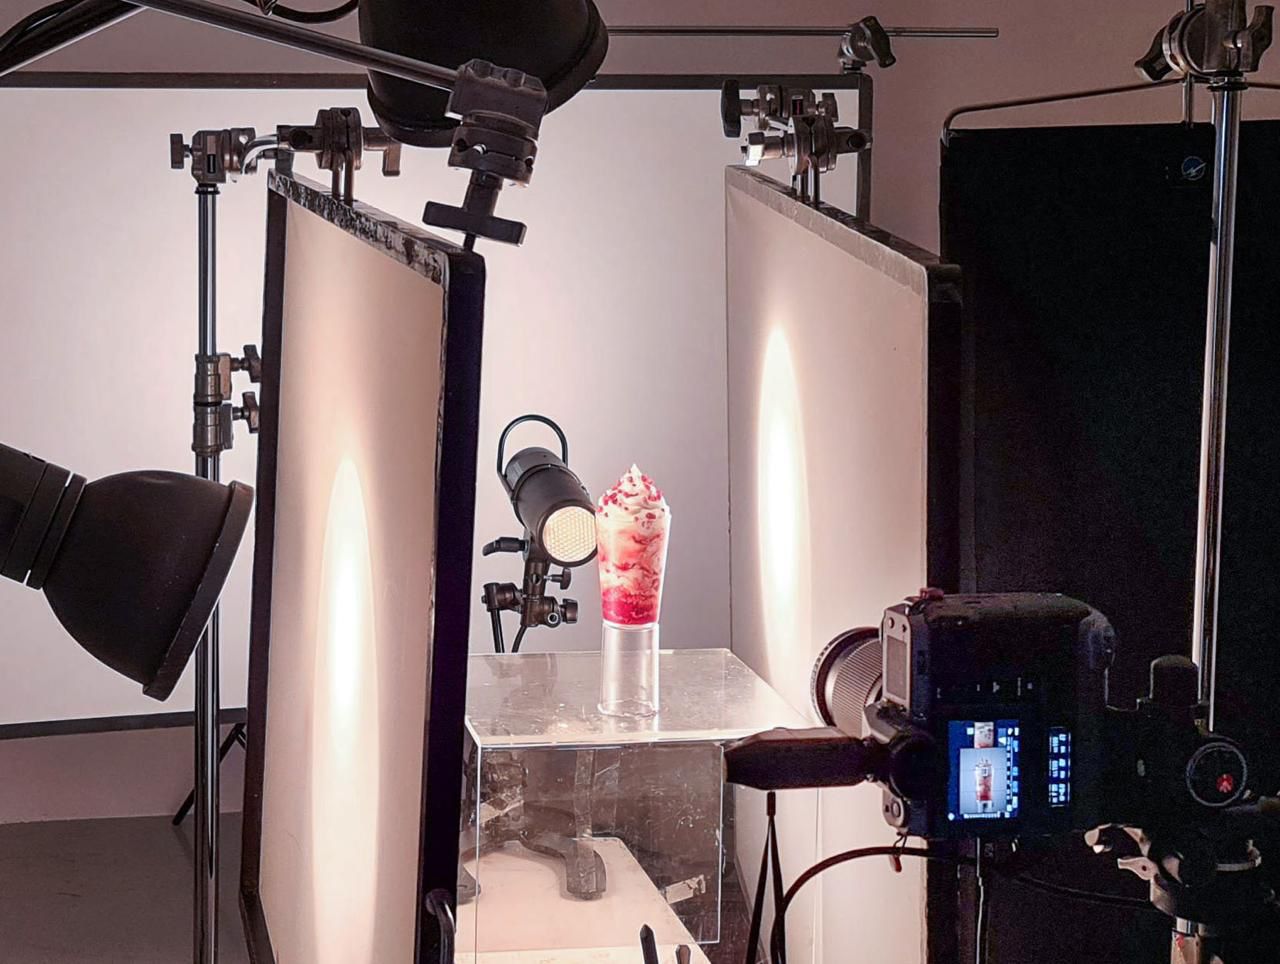
In food photography, lighting is everything. It can transform a bland image into a culinary masterpiece, or it can leave your dish looking flat and unappetising. Mastering the art of illumination is crucial for creating food photos that truly tantalise the senses and entice customers.
Consider the following when it comes to proper lighting for menu photography:
Hard vs. Soft Light
For a dramatic effect or for capturing crispy details, you must create sharp shadows and highlight textures through hard light.
Soft light, on the other hand, is diffused. Because it creates a more gentle and even look, it is ideal for highlighting the colours and overall shape of a dish in food menu photography.
Natural vs. Artificial Lighting
It’s hard to beat the organic quality that natural light can bring, which is also why it’s ideal for capturing fresh ingredients and vibrant colours. However, remember that it can be unpredictable, so you’ll have to control the controllables: window direction, timing, reflectors, diffusers, and editing.
Artificial light, on the other hand, offers more control and consistency. But if you don’t have the technical expertise related to food menu photography, it can sometimes look flat or harsh.
2. Choosing the Right Backgrounds
In food photography, the background should play a supporting role, not steal the show. Keep it simple and understated, allowing your delicious creations to take centre stage. Neutral tones, natural textures like wood, or a clean white backdrop create a timeless and elegant aesthetic. If you are working with a professional photography studio in Singapore, they’ll usually have backdrops and lighting that can improve the overall look and feel of the images.
3. Exploring Multiple Shooting Angles
Consider the story you want to tell about your food, and remember that different angles can create different impressions. A low angle, for example, can make a burger look towering and impressive. Meanwhile, a high angle might be better for capturing the layers of a colourful salad.
4. Integrating Subtle Decorations
Another important element in food menu photography is the supporting cast—the props and decorations. Artfully placed utensils, a sprinkle of spices, or a seasonal bloom can create a captivating story around your dish. These subtle decorations add context to the photos without overshadowing the food itself.
5. Incorporating Human Elements in Food Photography

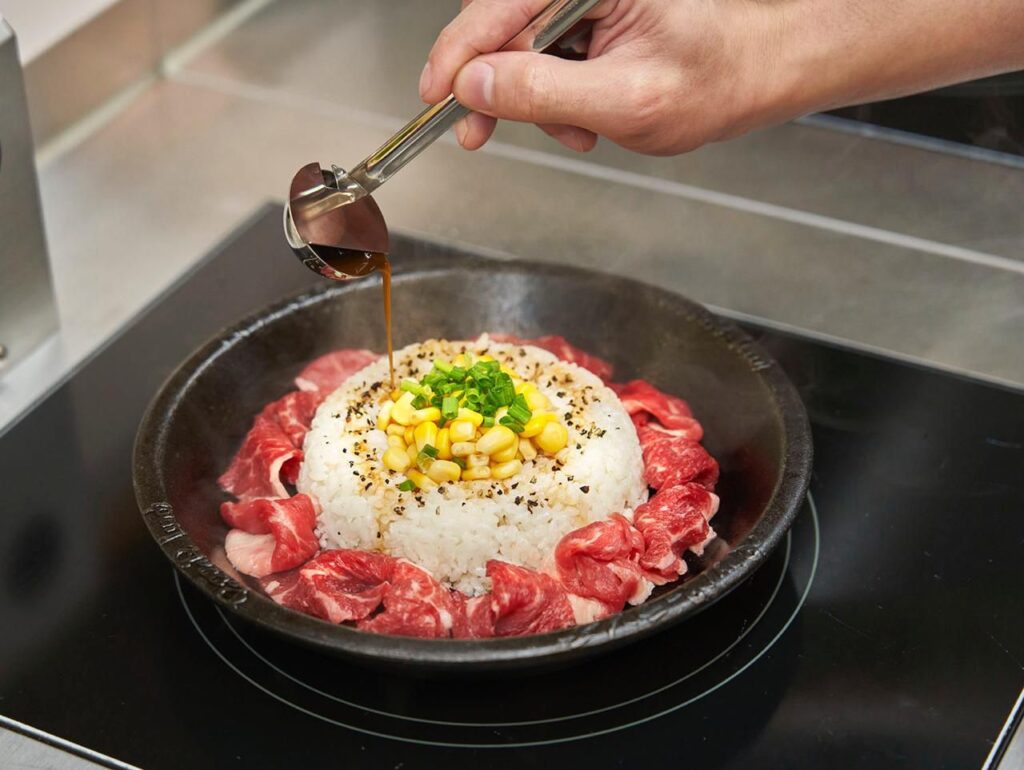
In the digital age, food photography is about more than just the food; it’s about connection. Infuse your images with life and personality by incorporating the human element. Capture a hand reaching for a delectable slice, a chef passionately plating their creation or the joyful expressions of people sharing a meal. These moments add warmth and authenticity, transforming your photos into shared experiences.
6. Unleashing Creativity in Food Photography
Food menu photography is an art form, which is why it allows some level of creativity. To capture your brand’s personality and showcase your dishes in an exciting way, you can experiment with unique setups.
For example, instead of traditional table settings, consider using unconventional surfaces like weathered wood, marble slabs or even colourful fabrics. And don’t forget about exploring creative themes! Embrace seasonal elements, cultural influences or even a touch of whimsy to create an unforgettable visual experience.
7. Basic Editing for Polished Images
Even the most stunning food photos can benefit from basic editing like adjusting the brightness, contrast and saturation. You can also perfect the composition by cropping or straightening the image. Note that while photography and basic editing can be done in-house, professional retouching can take your images to the next level, ensuring a polished and consistent look across your menu and marketing materials.
8. Framing Your Culinary Masterpiece
Framing is the final touch that can make all the difference in food photos. One tip is to use the rule of thirds and leading lines to create a balanced composition. You can also draw the viewer’s eyes to the main subject by taking advantage of negative space.
Editing Your Food Photos: The Final Touch for Aesthetic Food Images
Editing is where you add that extra polish to your food photos, making them truly shine. Aside from the basic adjustments we mentioned, you can use advanced editing techniques to enhance textures, making dishes look even more appetising. At the same time, you can create a specific mood or atmosphere by fine-tuning the colours. You can also refine the lighting, adding warmth and depth to your images.
Food Photography Ideas: Inspiration to Elevate Your Menu
If you want to take a creative approach to your restaurant menu photos, look for photography inspiration in food blogs, magazines, and social media platforms like Instagram and Pinterest. You can also keep an eye on current trends and experiment with different styles to see what resonates with your brand and audience.
Hiring a Professional Food Photographer: Is it Worth It?
While using in-house personnel to take restaurant menu photos can be the budget-friendly option, investing in professional food photography services can improve your brand’s image and impact your bottom line. After all, professionals bring technical expertise, creative vision and an understanding of visual storytelling to transform your menu into a work of art.
At J Studio, we’re passionate about helping businesses like yours tell their culinary story through creative visuals. So, if you’re ready to showcase your dishes in their full glory, contact our team today to discuss your food photography needs. We’ll help capture images that align with your restaurant’s identity.


Leave a reply