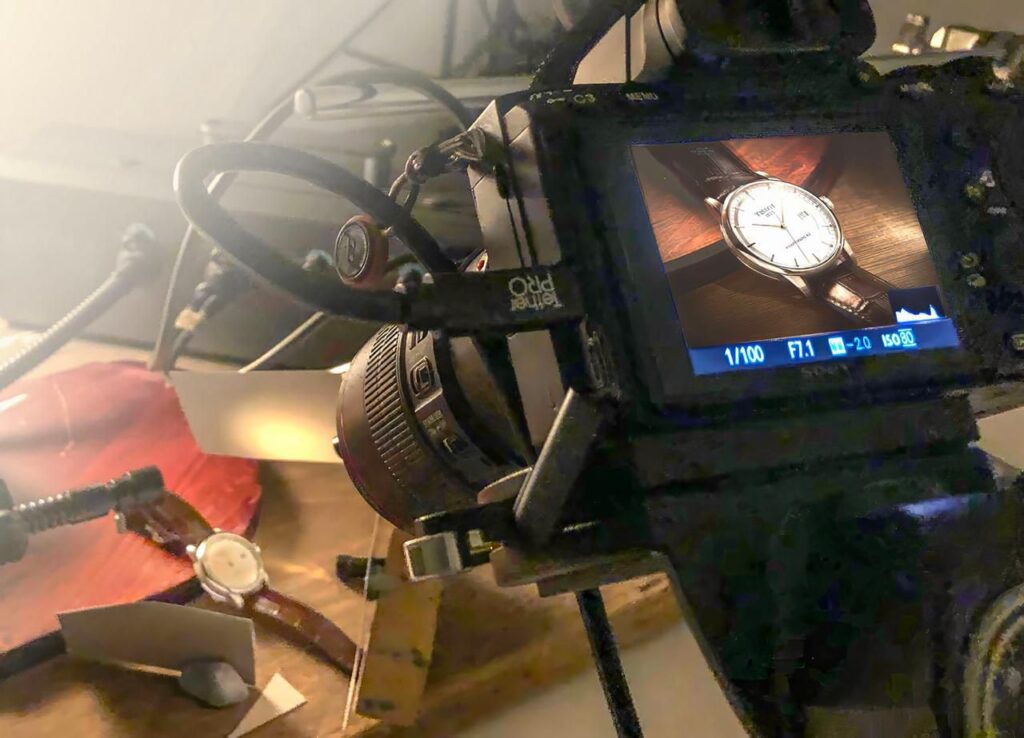
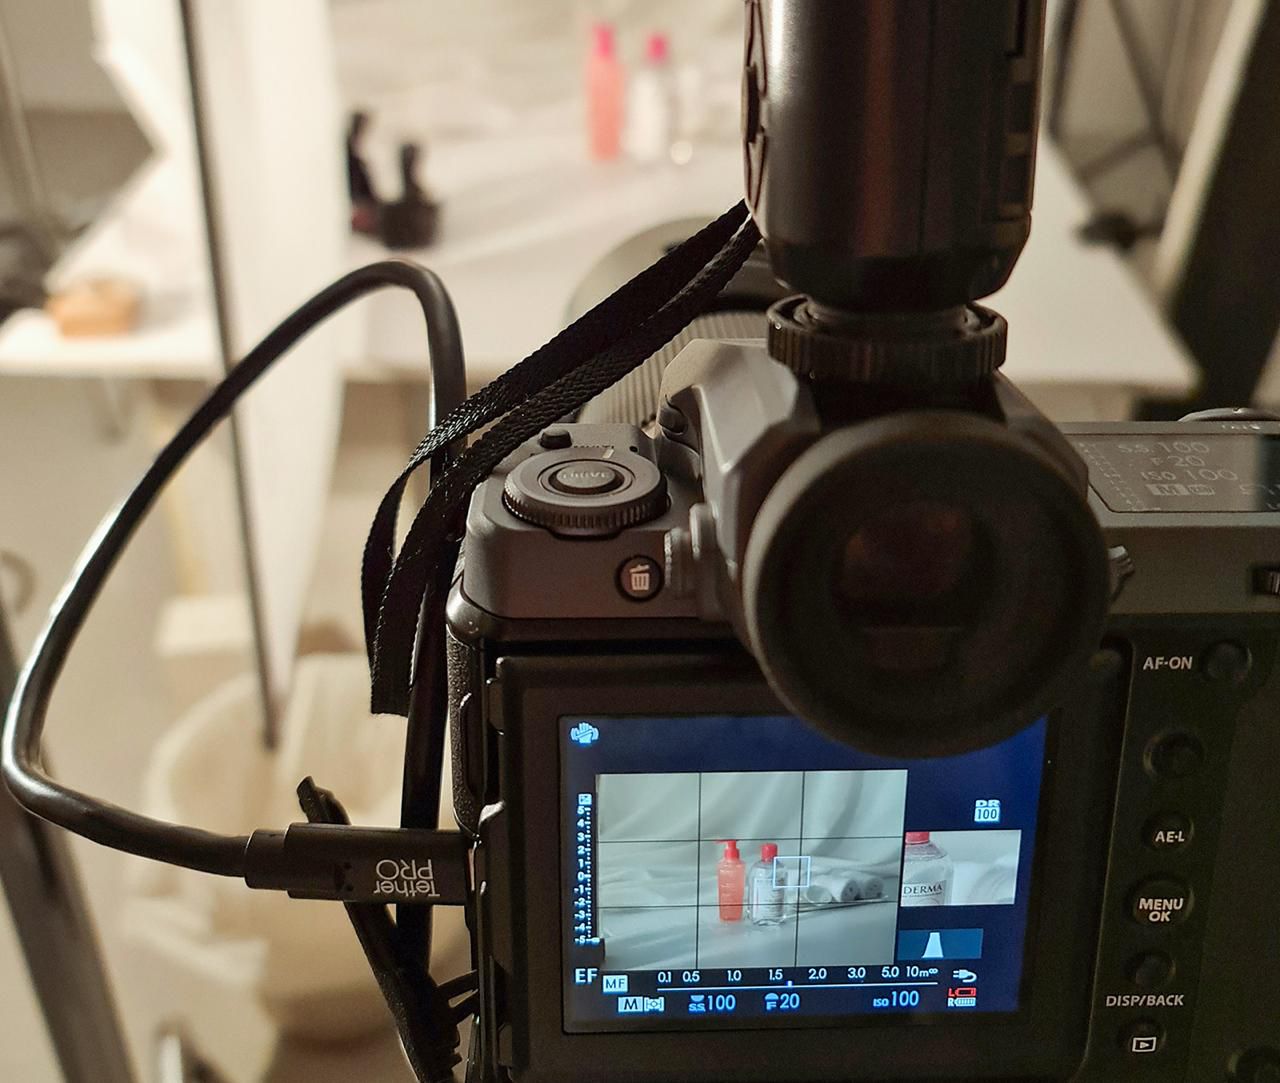
These days, consumers are bombarded with countless product choices. Despite that, it’s no secret that high-quality product photography can significantly boost your sales and elevate your brand. But how do you ensure your product images leave a lasting impression?
The Fundamental Tools for Stellar Product Photography
Before you can capture images that sell, there are a few essential equipment and setup tips to take note of:
1. Selecting the Right Camera
A good camera is the foundation of any product photography setup. While smartphones have come a long way, a DSLR or mirrorless camera with manual controls gives greater flexibility and image quality. So, you’ll need a camera with good resolution, low-light performance and RAW format capabilities for maximum editing control.
2. The Role of Tripods in Product Photography
Blurry shots are a big no-no in product photography. As such, you’ll need a tripod to keep your camera steady. Besides, having one allows you to take several shots from the same angle, which is helpful for creating composite images or focus stacking.
3. Importance of a White Background
A white background provides a clean, neutral canvas that allows your product to take centre stage in the shot. It also helps to eliminate distractions and ensures consistent lighting across your images.
4. Arranging Your Table Setup
Your table setup is where the magic happens, so make sure you have enough space to comfortably arrange the product and lighting equipment. Also, consider using a table with adjustable height to accommodate different angles and shots.
5. The Necessity of Tape in Setup
While tape may seem insignificant for some, it plays an important role in product shoots. For instance, you can use it to secure backdrops and hold props in place. You can even use tape to subtly adjust the position of your product.
6. Choosing Lenses for Product Photography
The right lens can effectively capture the product details. A macro lens, for instance, is ideal for shots of small items or intricate details. On the other hand, for most product photography needs, a standard 50mm lens will suffice. And if you’re shooting larger products, make sure you have a wide-angle lens.
7. Utilising a Lightbox for Professional Results
When you want to create a diffused lighting effect around your product, you’ll need a lightbox. It helps get rid of harsh shadows while creating a more professional look for the shot. Also, note that lightboxes come in various sizes, so choose one that’s appropriate for the size of your products.
8. Incorporating Props for Context
Props can add visual interest to your product shots while helping to tell a story about your brand or the item itself. But use them sparingly and choose items that complement the item without stealing the show.
9. Creating Optimal Lighting Conditions
Be it product or food photography, natural light can be beautiful. However, it can also be unpredictable. So, it’s best to create the same effect indoors using artificial lighting like softboxes or continuous lights. You can also try different lighting setups to find what works best for your product and desired mood.
Step-by-Step Guide to Perfect Product Photography

Aside from preparing the photography gear, consider following these steps to capture those picture-perfect product shots:
Step One: Configuring Your Photography Setup
The first thing you need to do is to assemble your camera, tripod, and lighting equipment. If you’re using a lightbox, it has to be placed on a table. Also, you must position your backdrop and make sure it’s smooth and wrinkle-free. Of course, you need to double-check the camera settings to ensure that your product shots are in RAW format for maximum flexibility in editing.
Step Two: Styling Your Product Shots
This is where your creative photography comes in. Arrange your product in a way that’s visually appealing and highlights its key features. At this point, you can add props to create context for the final images.
Step Three: Executing the Photoshoot
Take your time and capture multiple shots of the product from various angles. All the while, pay attention to focus, exposure, and composition. To avoid camera shake, use a remote shutter release or the camera’s self-timer.
Step Four: Refining Images Through Editing
For this step, you’ll need basic editing software to adjust brightness, contrast and colour balance. If you think that the composition isn’t balanced, you might need to crop and straighten the product shots as well.
Advanced Product Photography Strategies
While basic photography tips can help you capture good product photos, advanced techniques can add that extra polish and professionalism to your images. Here are some factors to consider when you want to create professional-grade product shots:
Comparing Window Light and Lightbox Illumination
As mentioned, natural light from a window can be inconsistent. So, you need to invest in lightboxes that offer controlled, diffused light for product shoots. However, note that they might not be suitable for larger items. In that case, you’ll need at least two speedlights with diffusers to properly illuminate the subject.
Using Foam Boards to Enhance Lighting
You can also use foam boards to bounce light back onto your product, filling in shadows and creating a more even exposure in the shot.
Mastering Basic Photo Editing
Any product photographer needs to know the following photo editing skills to produce high-quality product shots:
- Background Removal: Replacing the background with a solid colour or a more visually appealing backdrop.
- Shadow and Highlight Adjustment: Fine-tuning the shadows and highlights to bring out details and create a more balanced image.
- Sharpening: Subtle sharpening to enhance the clarity and definition of the product, especially when shooting small details or intricate textures.
- Retouching: Removing any dust, scratches or imperfections from the product to ensure it looks its best.
Capturing Multiple Perspectives
You also need to capture multiple perspectives to showcase your product from every angle. This allows potential customers to understand its size, shape and features. So, consider using 360-degree photography or video to create an even more immersive experience.
Exploring Diverse Product Photography Styles
Product photography isn’t a one-size-fits-all endeavour. As such, consider the following styles to appeal to different customer sensibilities and purchase motivations:
Lifestyle Shots
Place your product in real-life scenarios to help customers envision how they can use it. For example, you can place a cosy mug on a bedside table, hang a stylish handbag over a shoulder or feature a tech gadget in action. These lifestyle shots create an emotional connection and demonstrate the product’s value in context.
Close-up Details
You can also use detailed close-ups to highlight the craftsmanship and quality of your products. At the same time, capture intricate textures, stitching, or unique design elements that might be missed in a wider shot.
Group Arrangements
Another example would be taking shots of products together. This is particularly effective for items that come in different colours, sizes or styles. Besides, group arrangements create a sense of abundance and allow customers to visualise how products can be used together.
The Advantages of Professional Product Photography
While DIY product photography can be a good starting point, here are some reasons why opting for professional product photography services in Singapore can be the practical and wise decision:
Access to High-End Equipment
Professional photographers invest in top-of-the-line cameras, lenses and lighting equipment, ensuring your products are captured in the best possible light with exceptional clarity and detail.
Expert Lighting Techniques
Professionals also understand how to take shots and manipulate light to highlight your product’s best features, minimise shadows and create a mood that aligns with your brand.
Advanced Editing Skills
Beyond basic adjustments, professional photographers possess advanced editing skills that can enhance colours, textures, and overall image quality. This ensures your product photos look polished, consistent and aesthetically appealing.
Variety in Capturing Product Views
Professional photographers understand the importance of showcasing your product from multiple angles. Consequently, you can provide customers with a comprehensive view and instil confidence in their purchase decisions.
Crafting Compelling Product Descriptions
A great product shot deserves an equally compelling description. Product photography studios usually have teams to help you craft persuasive copy that highlights key features and benefits while encouraging customers to take action.
Leveraging Your Product Photography for Maximum Impact
Once you have stunning product photos, it’s time to put them to work. Showcase them prominently on your website, e-commerce platforms, social media channels and marketing materials.
Remember, your product shots are an investment in your brand’s success. To ensure they make a lasting impression, partner with a professional photography studio like J Studio. Our team of experts can help you create captivating visuals that showcase your products in their best light and drive sales.
Contact us today to learn more about our professional photography services and how we can help your business thrive.


Leave a reply